


We’ve all come across the situation during a project where we need a bracket that has a flat on one end and a circular end on the other AND turns 90° to facilitate mounting a part and we know it’s not offered in any restoration catalog. Some guys would resort to the old standby of using a zip tie or duct tape, others look at the challenge as an opportunity to stretch the limits of their creativity and make a one-off part like the ones seen below on Ray’s resto-mod GTO project.
Battery Cable Guide Tube
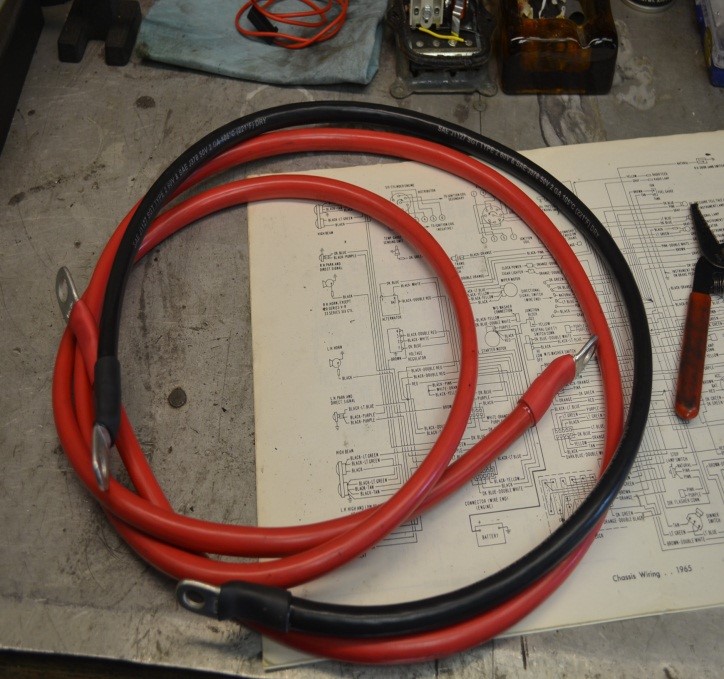
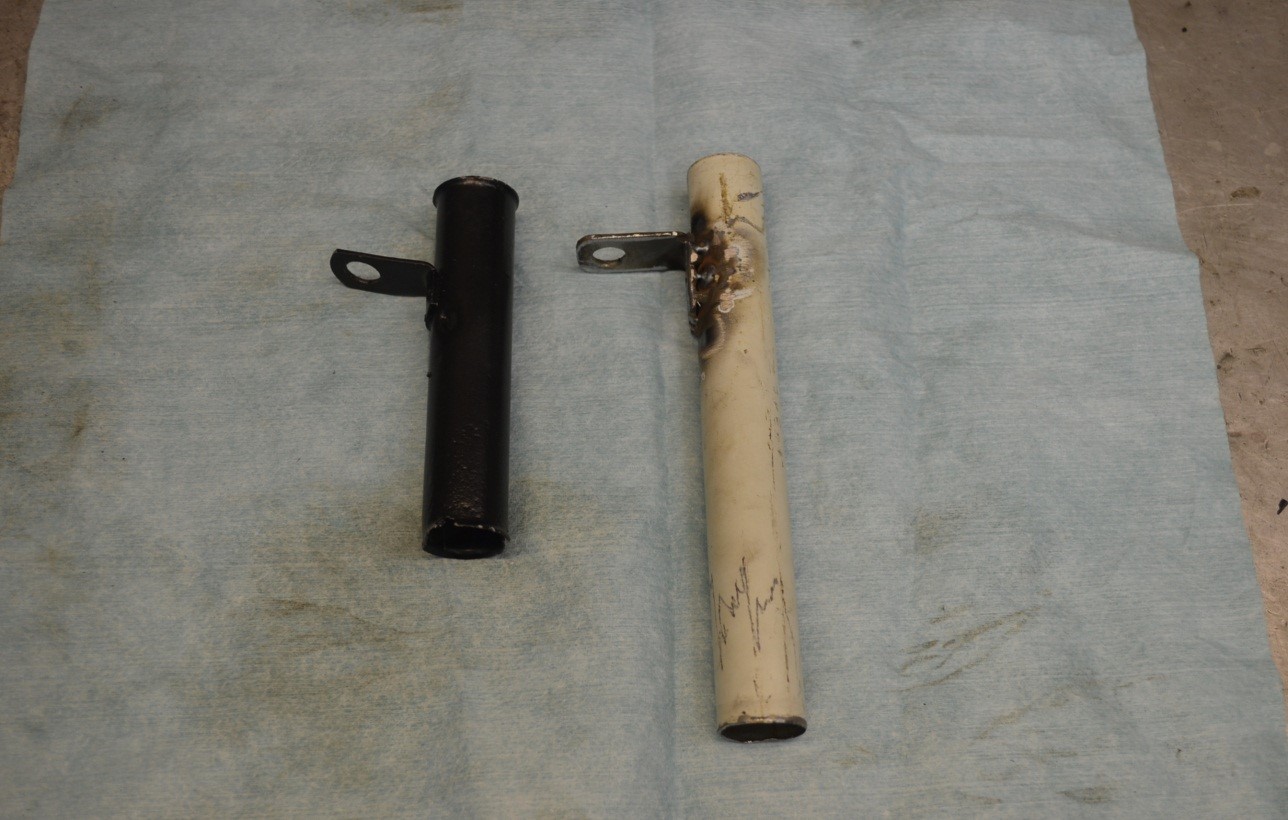
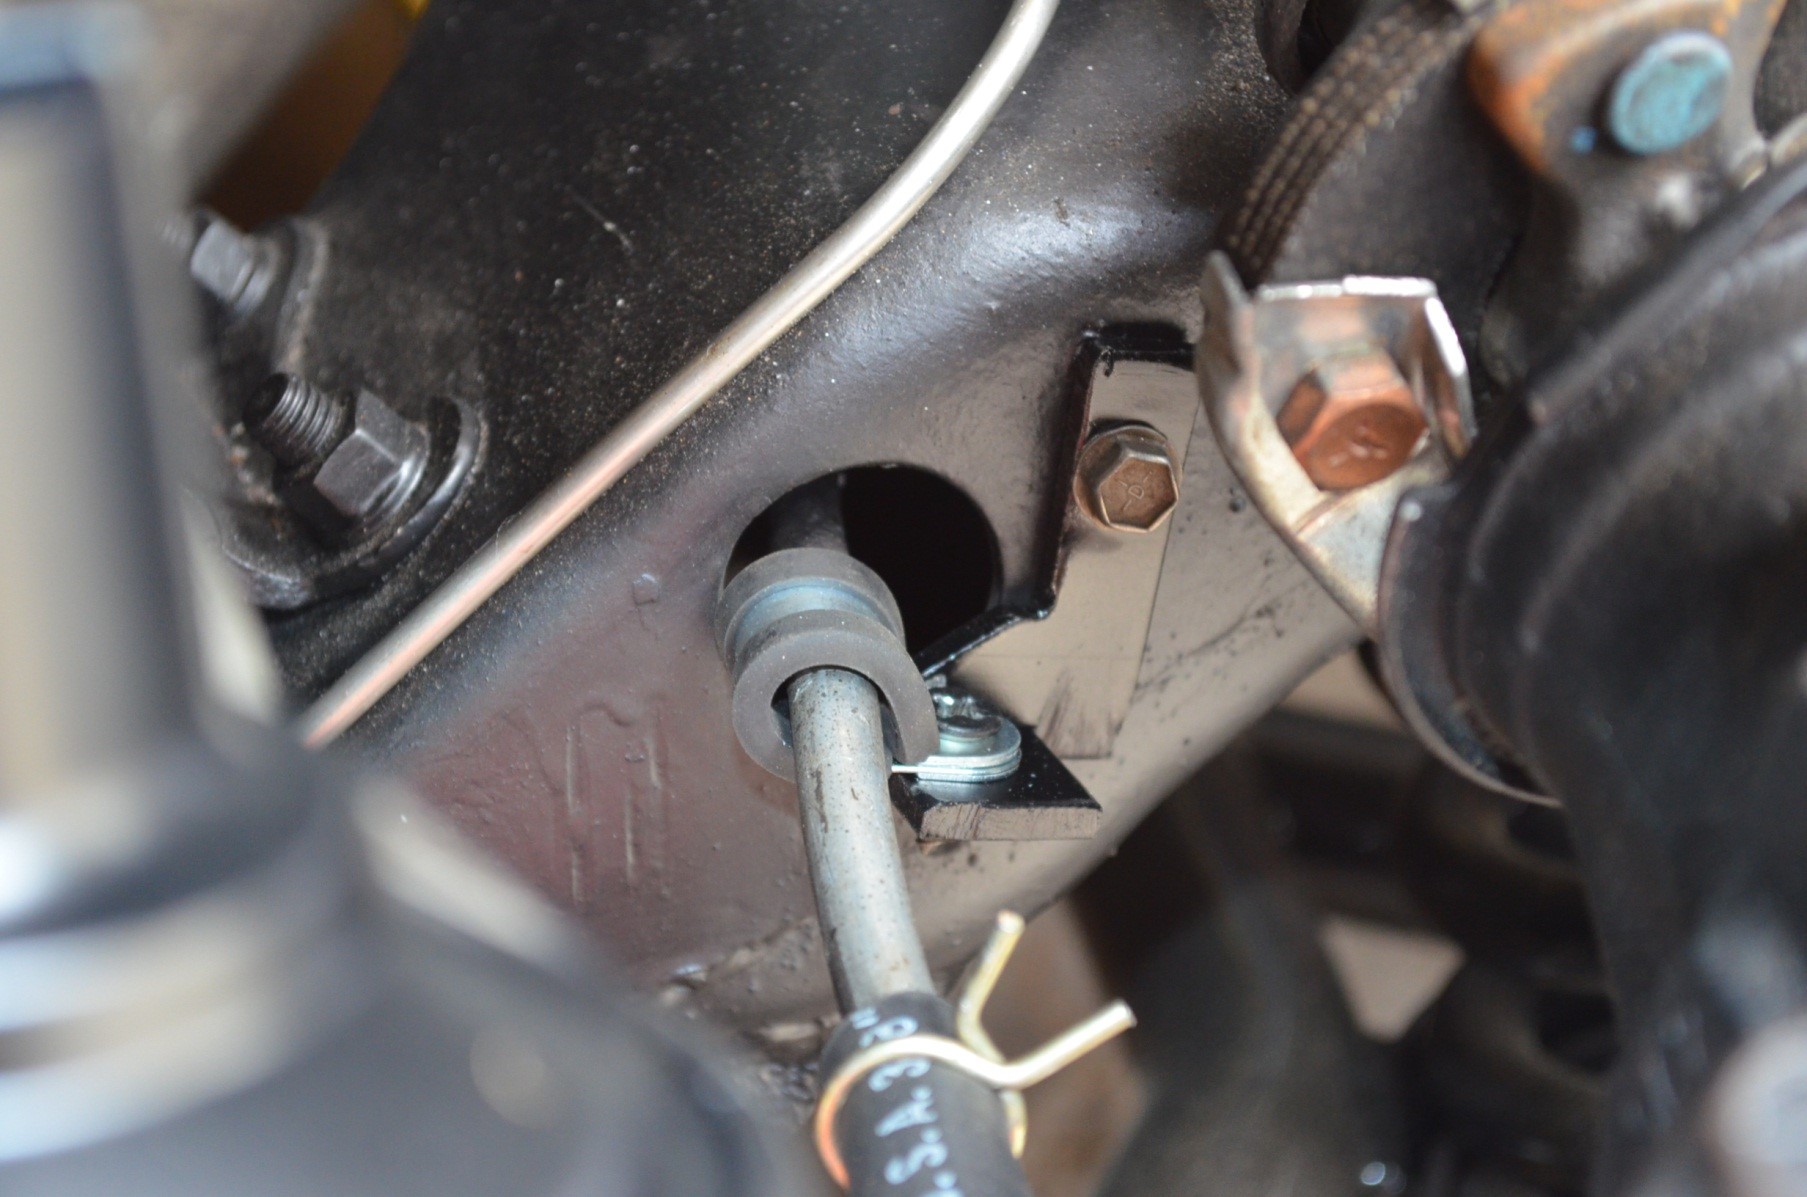
Pontiacs use a metal tube with a 90° flat tab bolted to the left cylinder head to guide the positive cable down to the starter, insulating it from exhaust heat. Due to the vintage Hooker Headers on the GTO, Ray needed a longer guide to prevent the open end from abrading the new, larger cables-what to do?
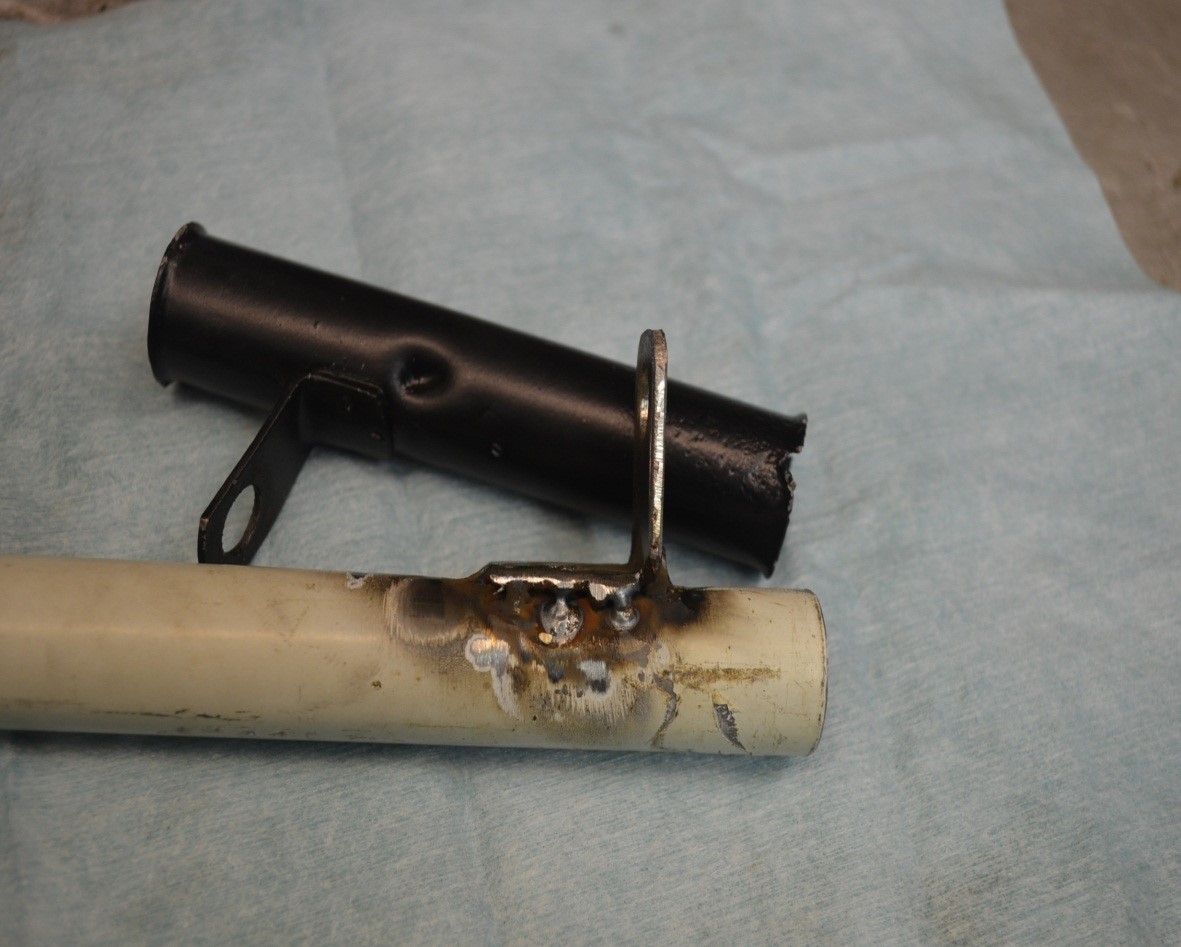
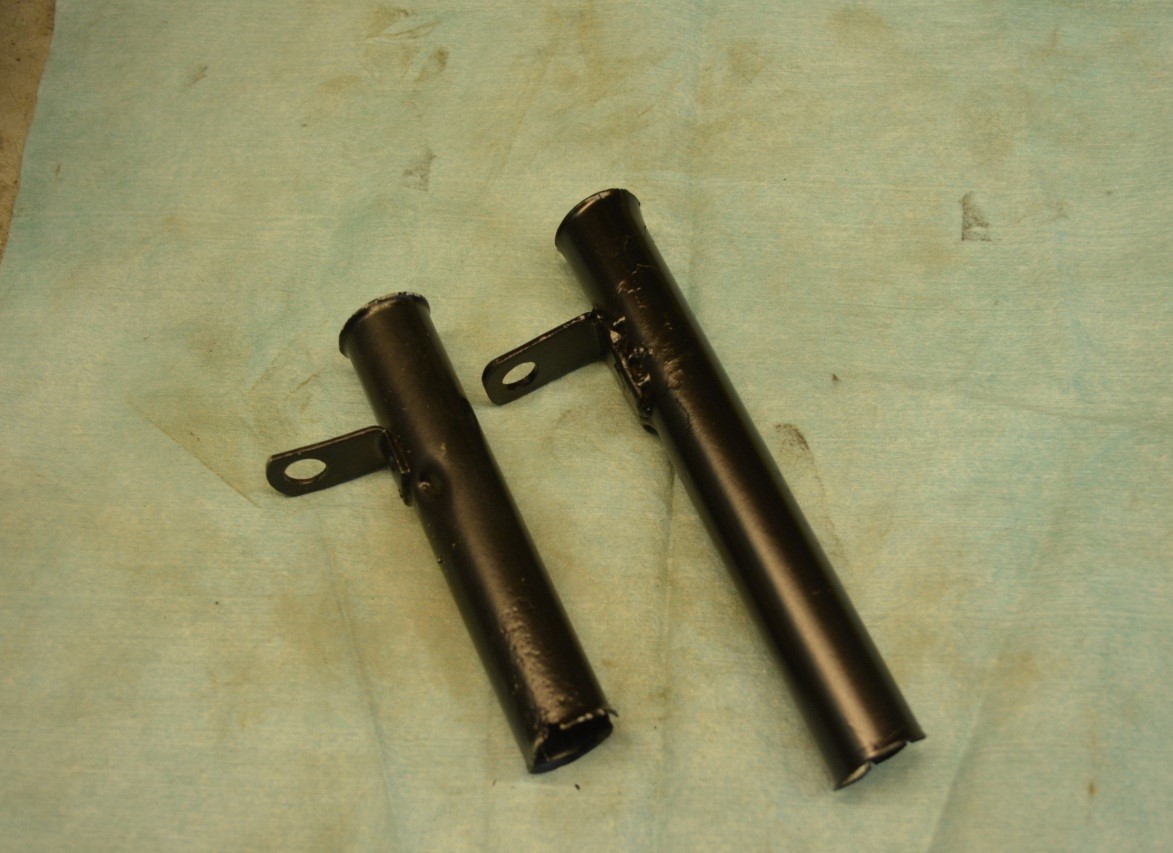
Forget the expensive Stainless Steel scraps sitting under the workbench, a quick trip to the yard found perfection in an unused beach umbrella pole. Bend a tab from some scrap, tack weld it in place, flare the top end to resist abrasion and paint it the color of the day-Black for the finished product seen here, making for a stock looking longer version of the OEM part. Eat your heart out Ames!!
An Odd Shaped Fuel Line Support
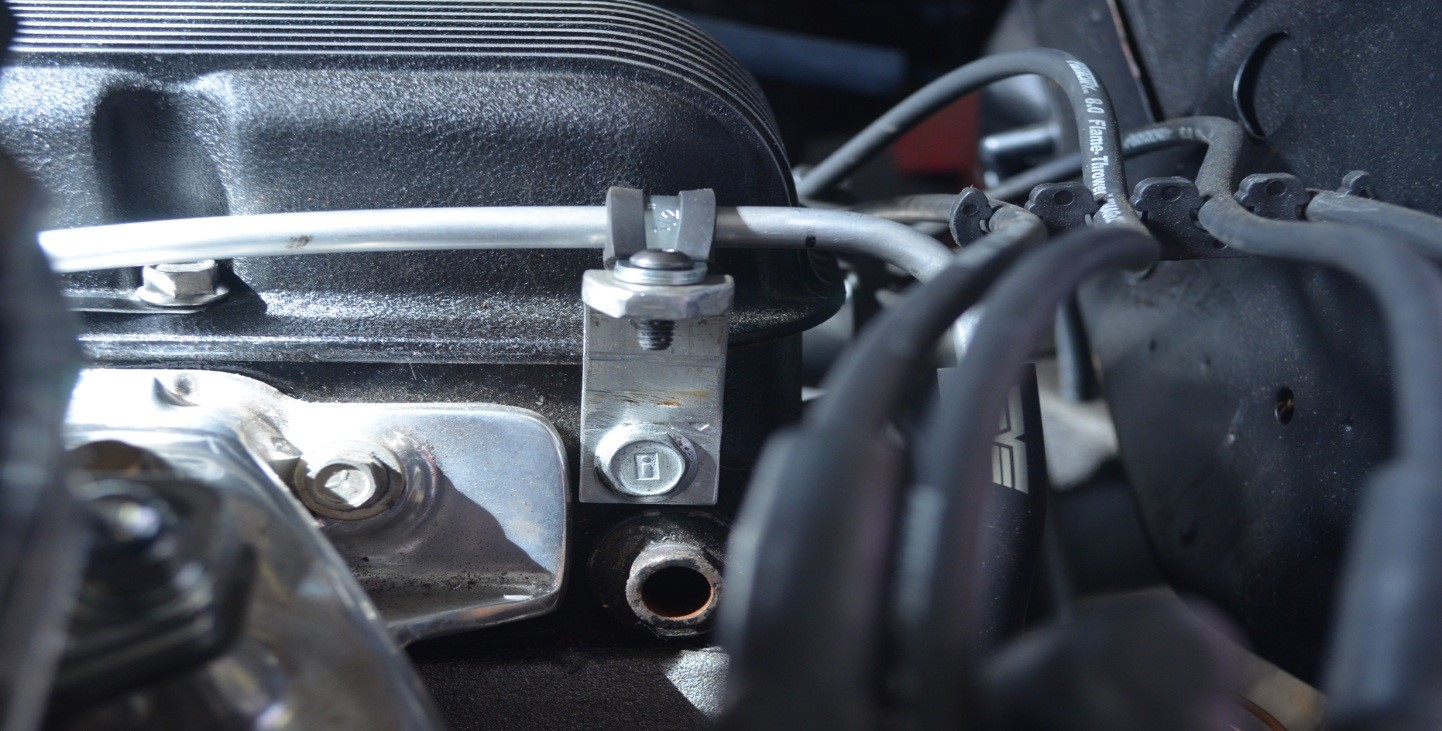
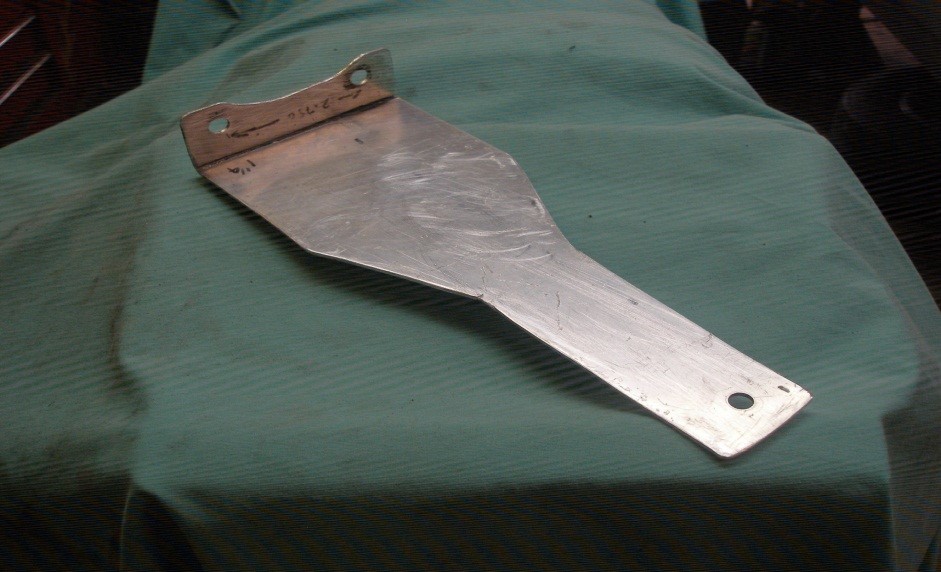
Here’s an example where a right angle bracket was needed to support the 3/8” aluminum fuel line as it exited the chassis crossmember before being attached to the fuel pump. The factory didn’t use a mount here, but this restorer knows better than them (doesn’t he?)
Lots of hand work here to get the desired shape & a rubberized P-clamp used for a soft mount. That’s the steering column rag joint to the right for placement reference.
PCV Line Support
Another piece of that 3/8” aluminum tubing was used for a PCV feed, and seeing it rub the valve cover was all this restorer had to see to know another bracket was in order…let’s look through the scrap pile.
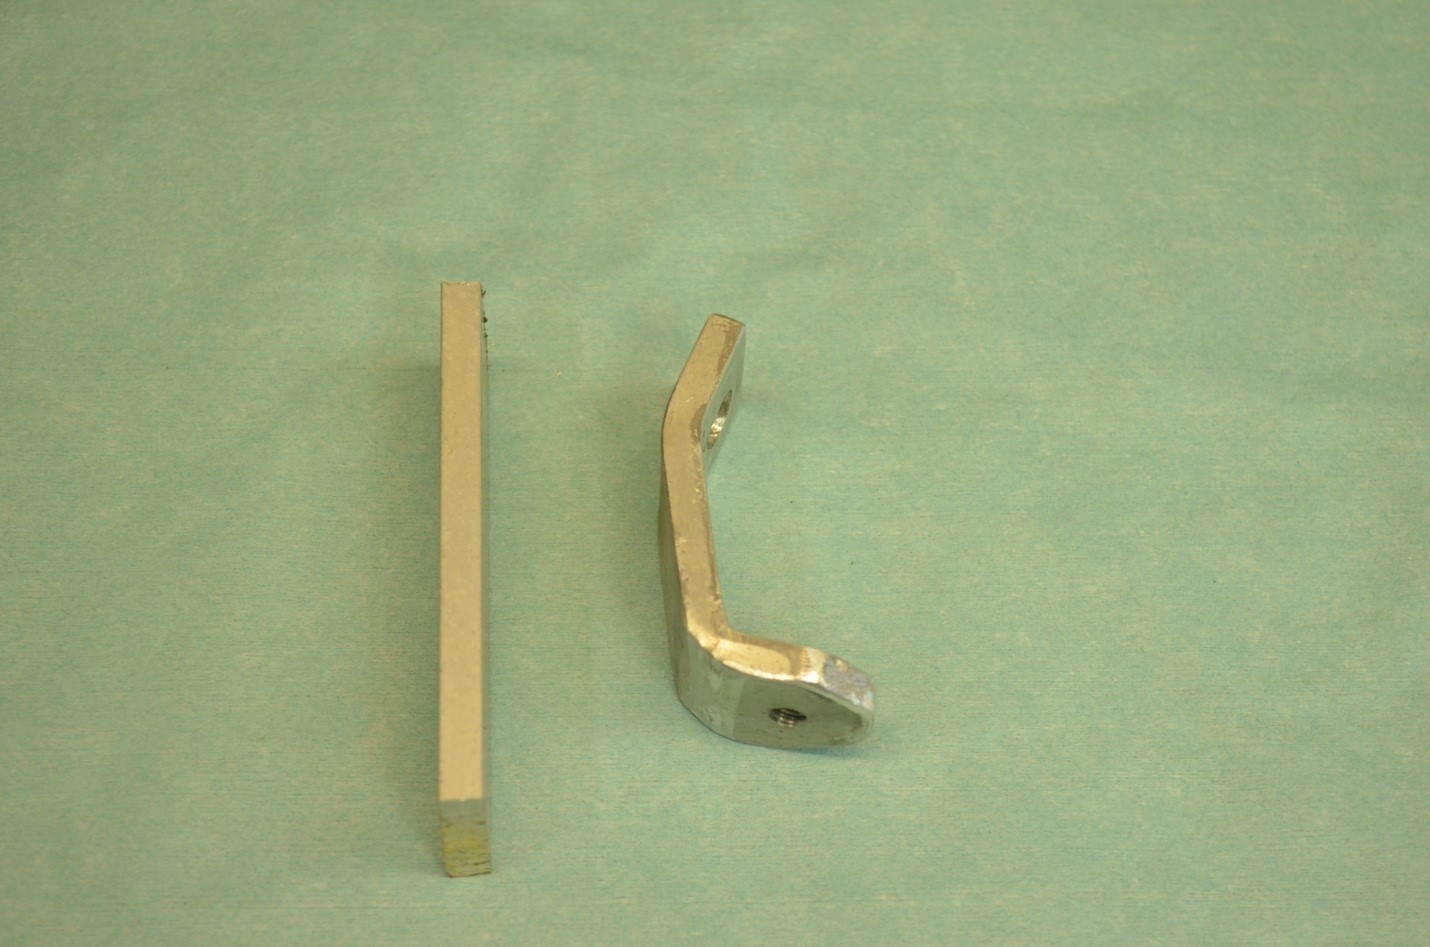
Left) Raw ¼” aluminum bar stock before and after bending-please don’t ask how many tries were needed to get the shape just right.
Right) View from the left side of the engine with carbs to the left of frame.
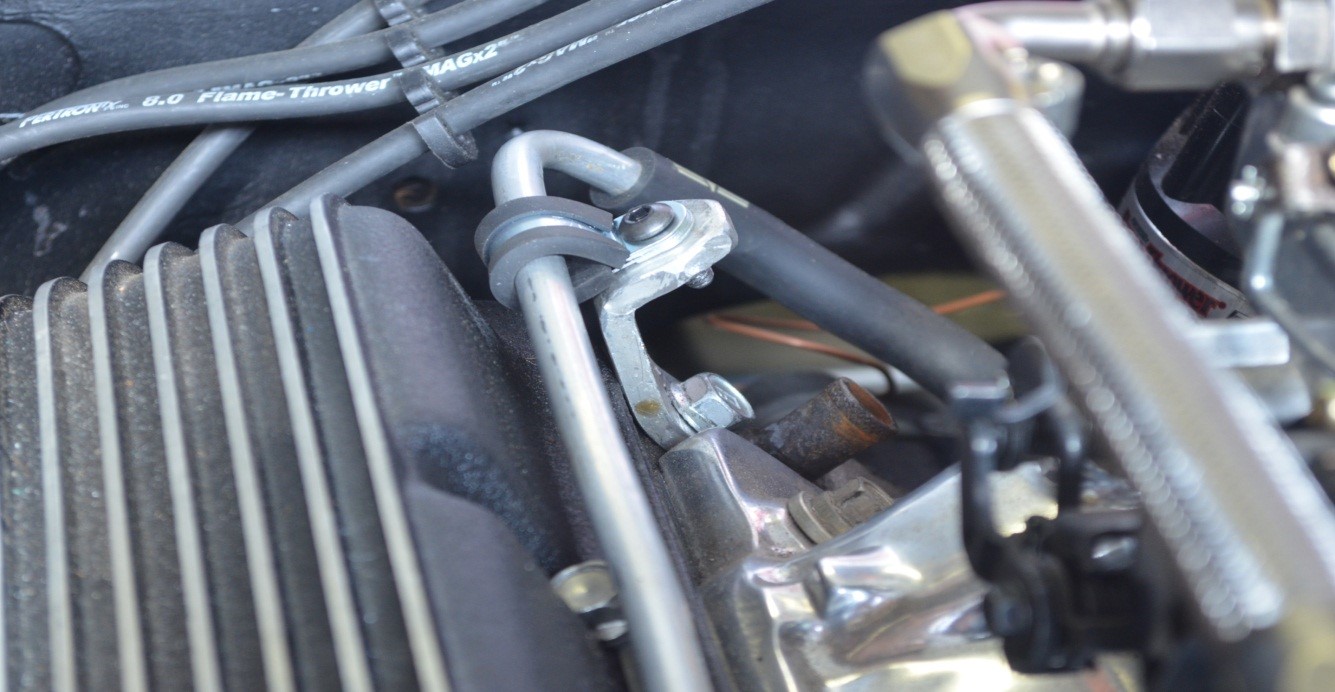
View from the front of the engine looking back to the firewall. Flanged mounting bolt attaches bracket to the head, & button head Allen bolt secures the rubberized P-clamp to the hand-threaded hole in the bracket. Black semi-gloss paint finished it off nicely later on.
Hidden Ignition Relay
One of this restorer’s favorite tricks is hiding new components in plain sight. The target this time is the power relay used to provide full system voltage to the Pertronix distributor module. Mount it to the firewall with self-tapping screws like the factory did? I think not.
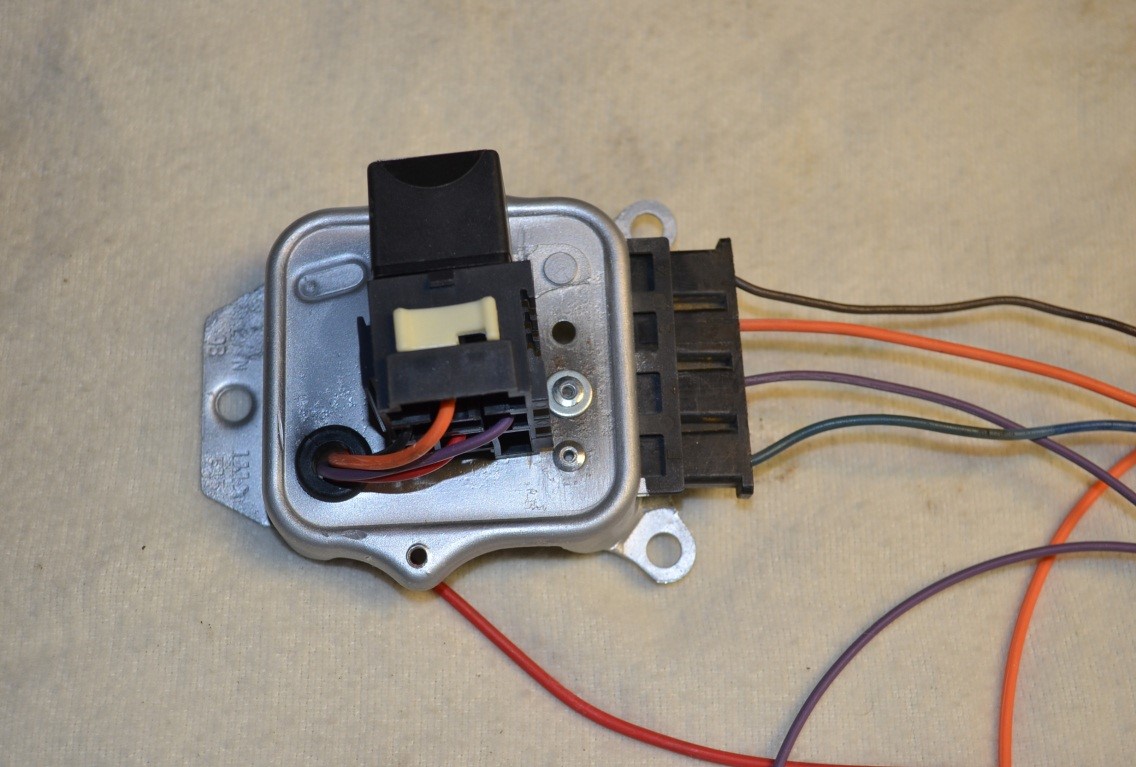
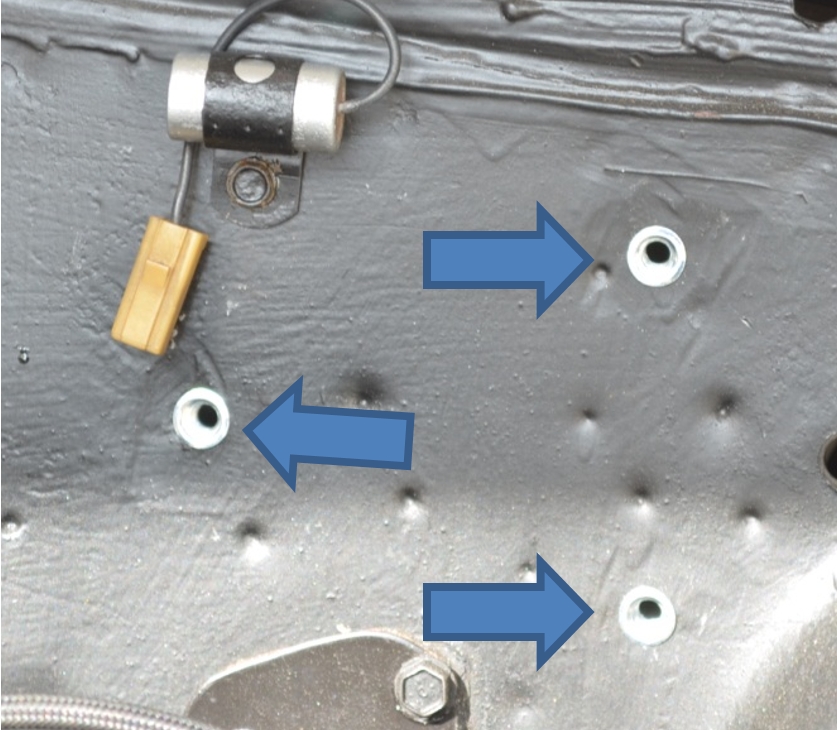
Left) Stock GM regulator gutted, painted & with 30 Amp relay installed. Right) Call them Riv-Nuts or Nut-Serts, these are the expandable internal threaded devices used to mount the regulator to the firewall with machine bolts, not cheesy sheet metal screws (follow the arrows).
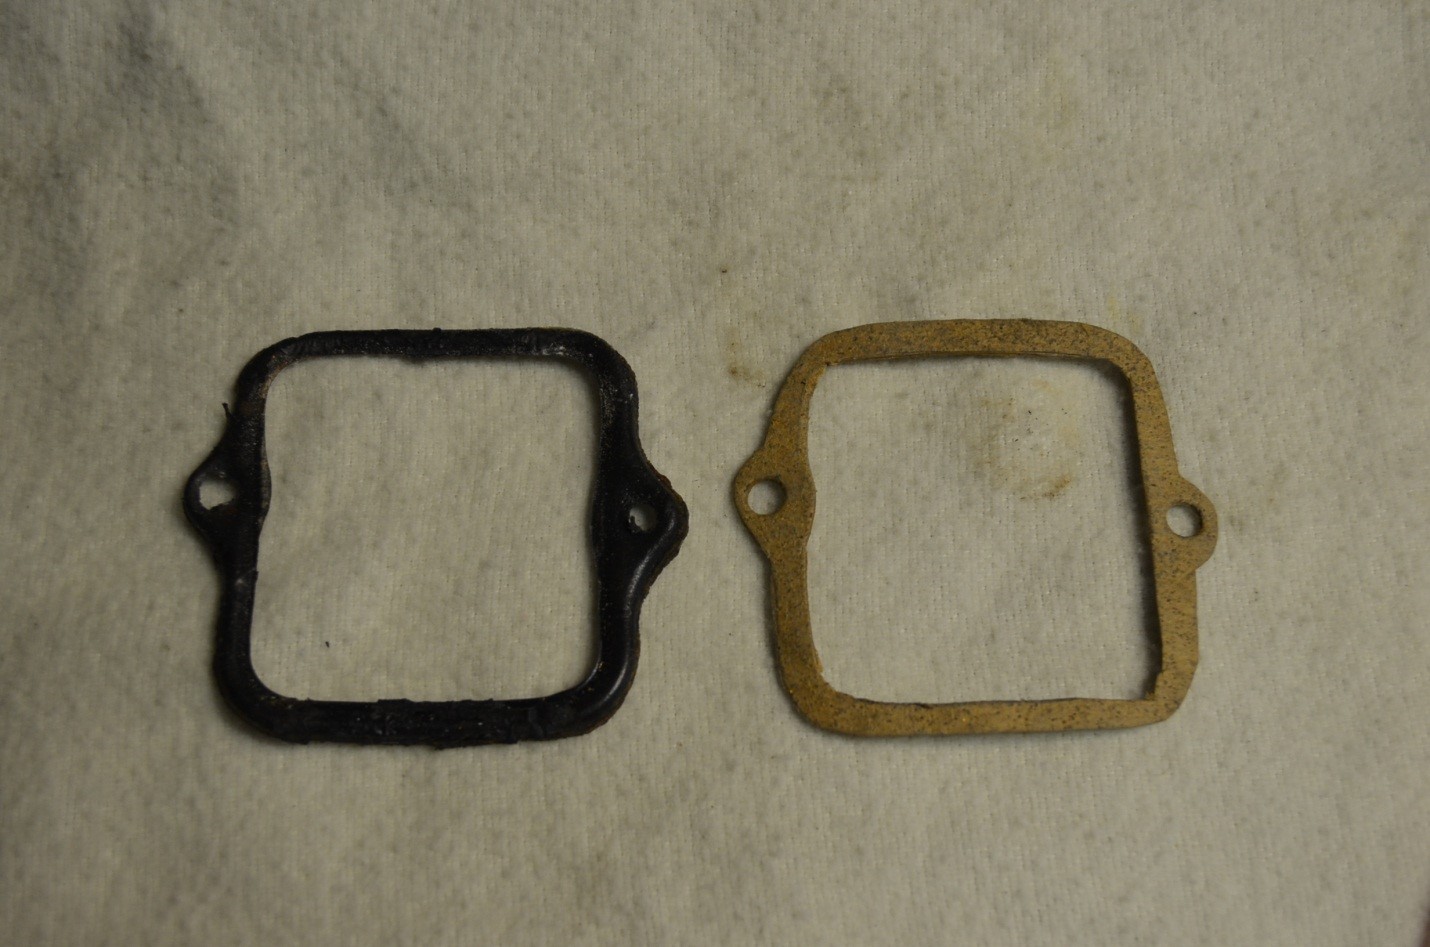
Even projects have sub-projects. The original gasket (L) needed to be replaced, so a copy was made from gasket material (R). There went another hour, two cups of coffee & another cigar.
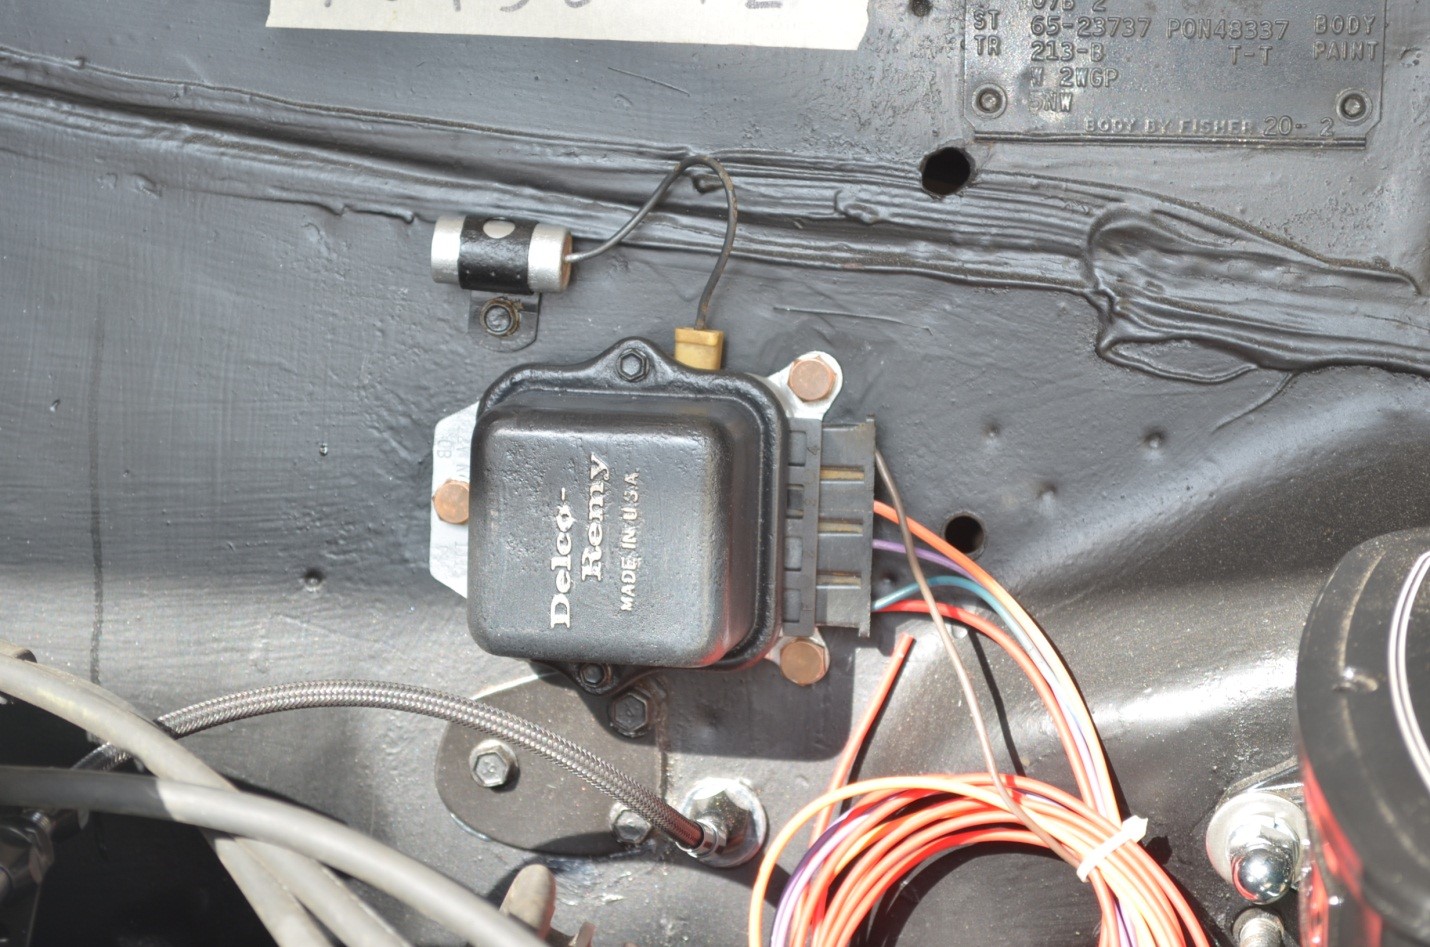
The finished product. Note wire routing which simulates original mechanical regulator function while really doing something else. The stock radio noise suppression capacitor is there for looks only.
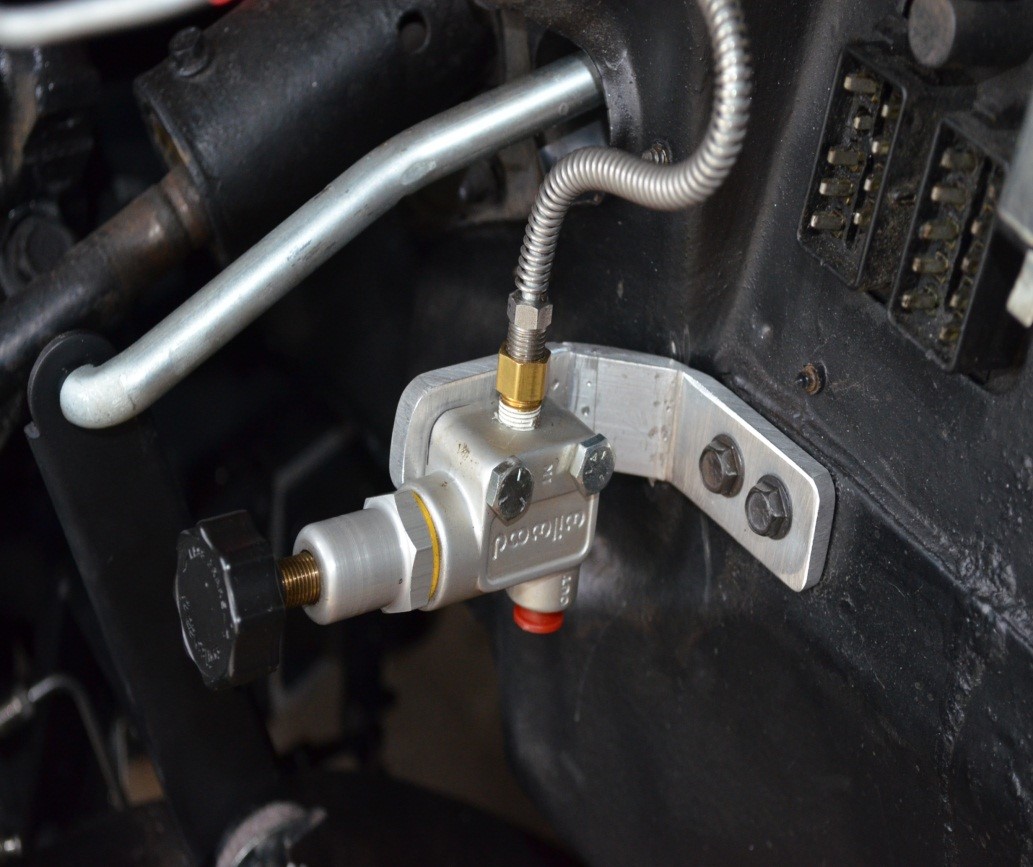
Brake Proportioning Valve Mount
Yet another case of “where do I stick this thing” arose when the proportioning valve for the rear brakes had to find a home. More flat aluminum bar stock, a couple of Riv-Nuts and another gallon of coffee later and the deed was done.
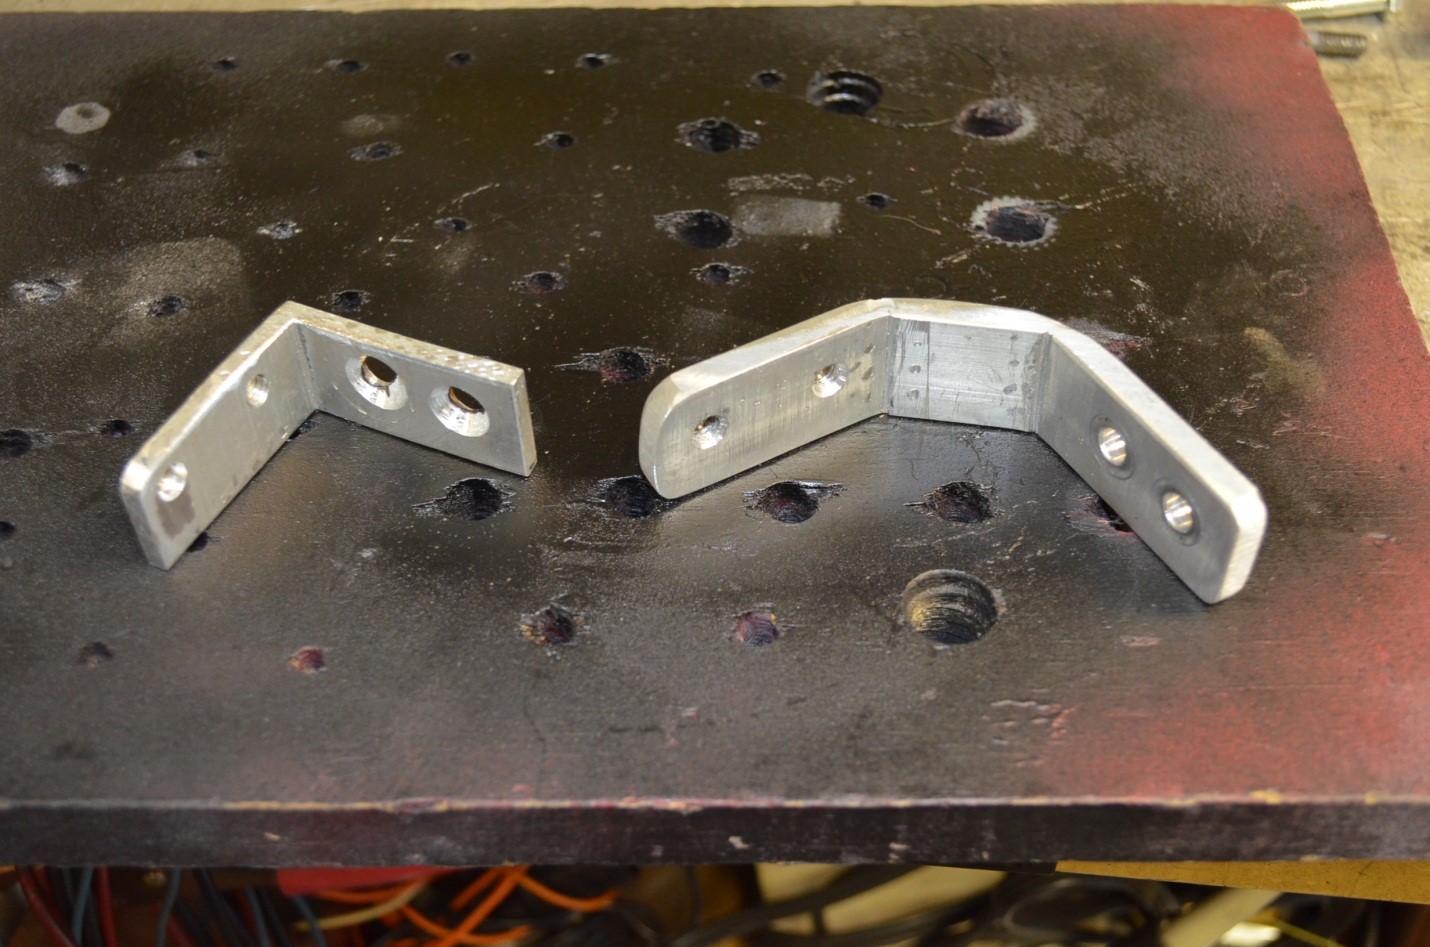
Two versions of the bracket that was finally used. Sometimes you have to go backward a few steps in order to go forward-we do that a lot around here, but love it anyway!
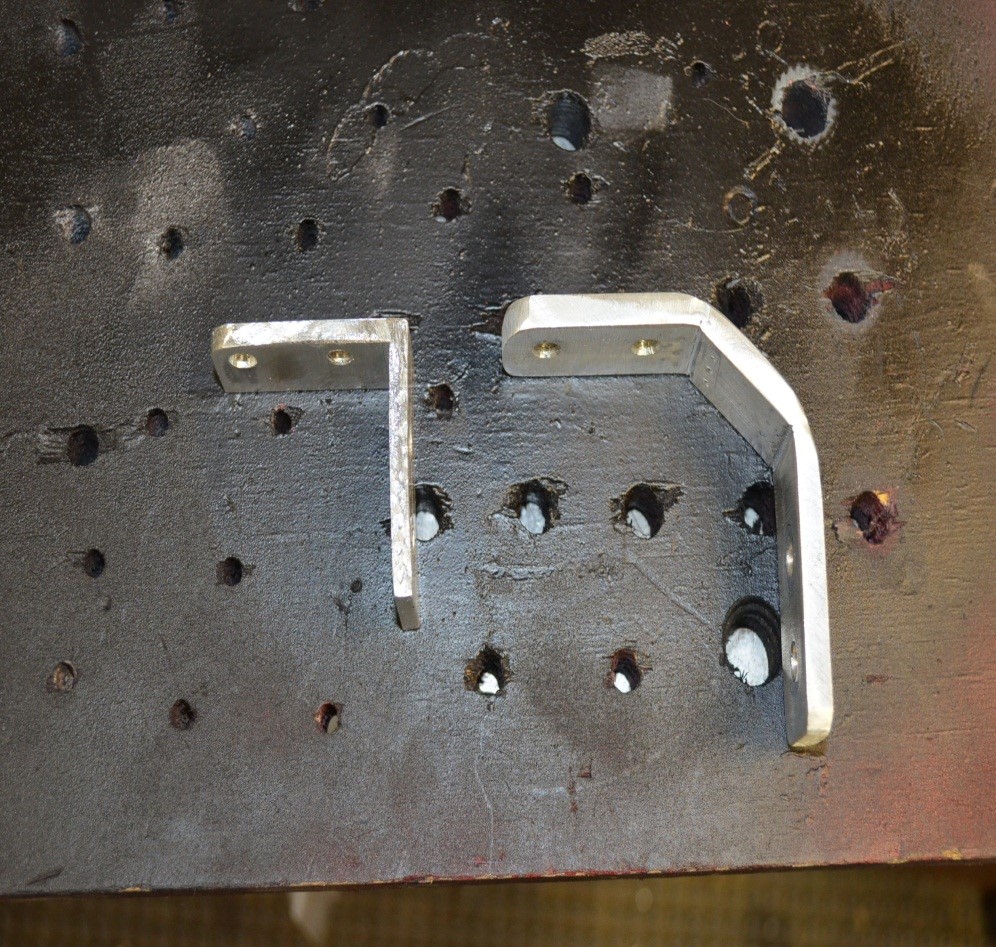
The first two pictures show the raw material being shaped to taste, followed by the finished product (not yet painted semi-gloss black).
Rear Brakeline Junction Block
This is one of those parts you never think about, let alone think about having to modify it. New rear hard brake lines and a braided Stainless Steel hose didn’t fit nicely in the original brass junction block. The solution was found by making a bracket out of 0.030” sheet aluminum and bolting on new brass “T-block”.
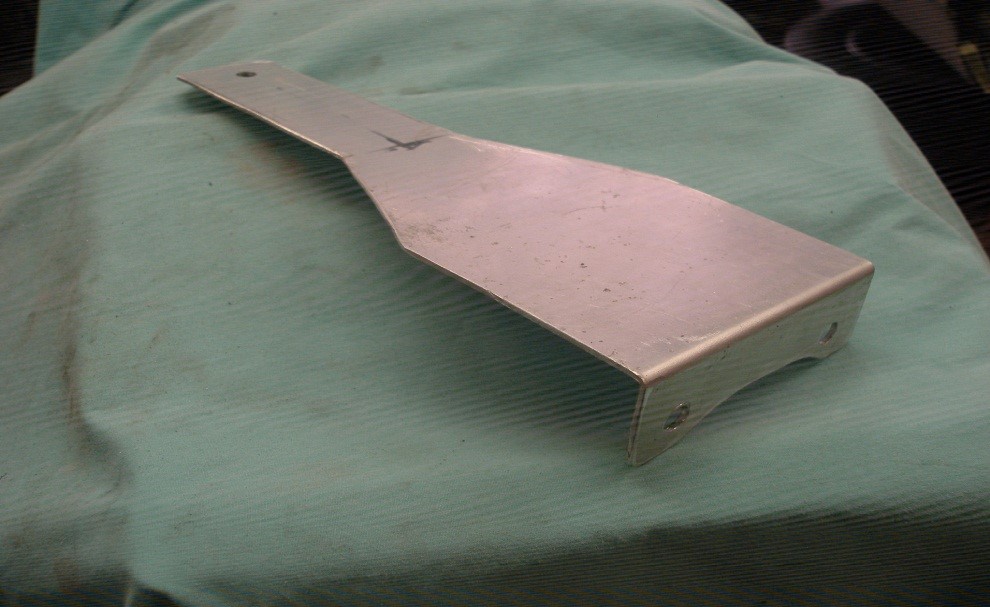
Left) Bottom & Right) top side of the new bracket contoured to fit over the rear end cover, clear the lines & mount the new T-block. Black semi-gloss paint finished it all up.
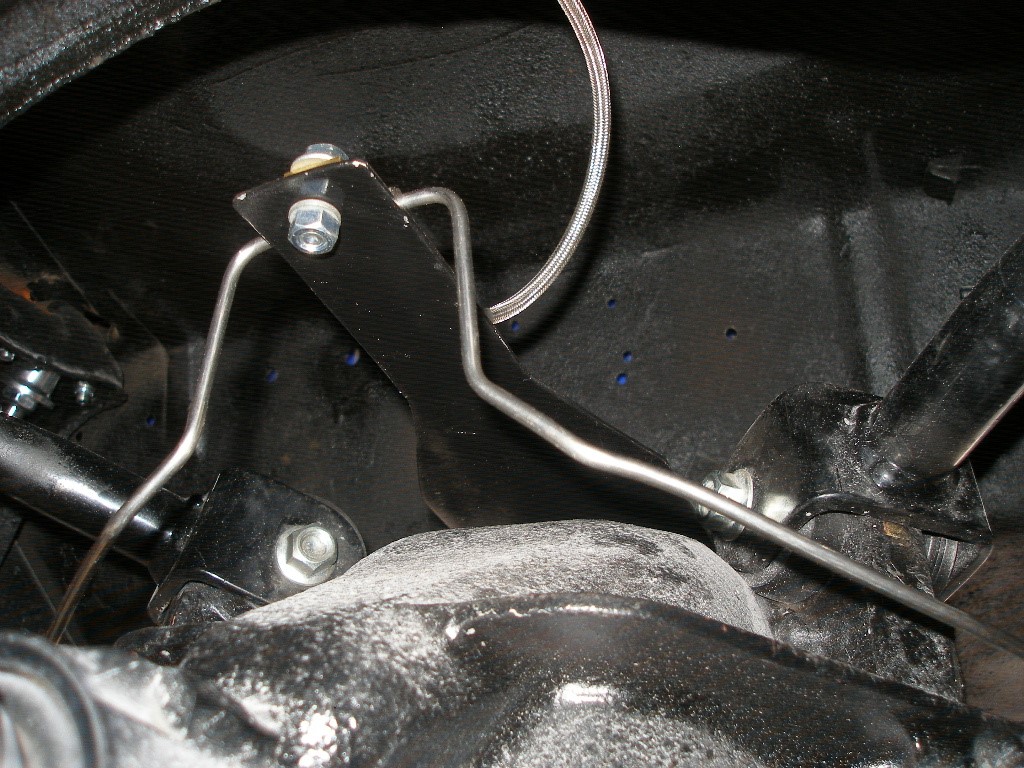
Looking up from the front side of the rear end, the pre-bent hard lines fit nicely now with the braided brake hose looping around the top on its way to meet with the hard line going to the master cylinder. Quick fact: this was the first modification made to the car during the restoration.
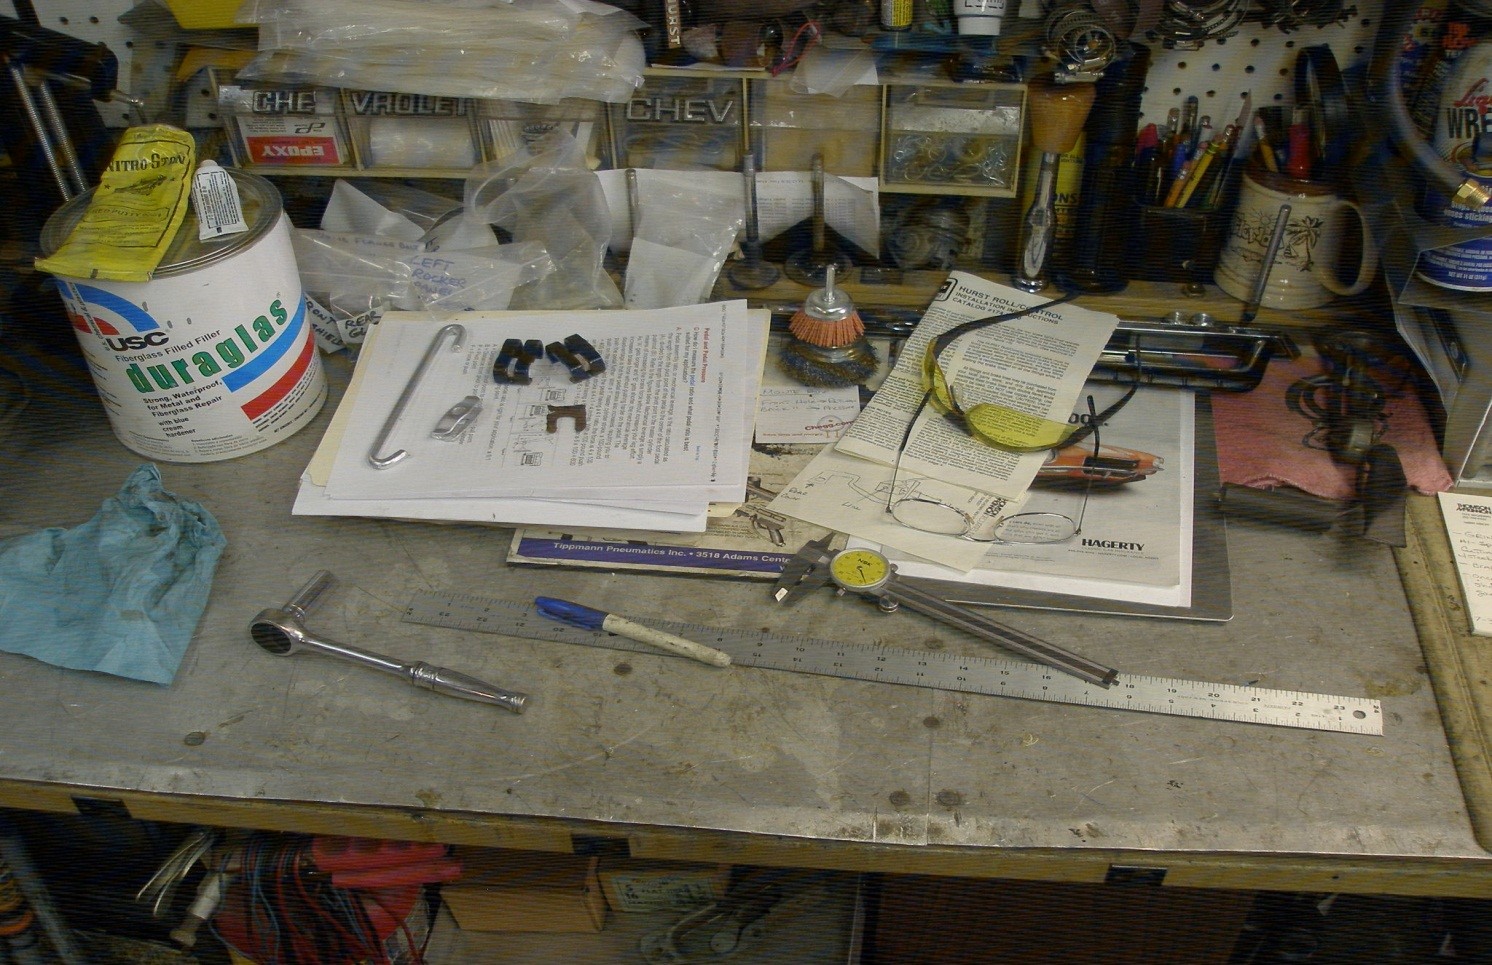
A random shot depicting some of the tools needed to make these crazy brackets…the reading glasses are probably the most important tool on the bench. As the project progresses they’ll be used more and more, that’s for damn sure!